

How To’s
Step-by-step instructions and helpful links for setting up your arcade cabinet software, assembling your kit, and soldering circuit boards. Easily install and configure Retropie on your microSD card to unlock a vast library of retro games. Our detailed assembly instructions help to make the process fun and easy to follow. No matter your skill level, our straightforward instructions cater to all retro gamers.
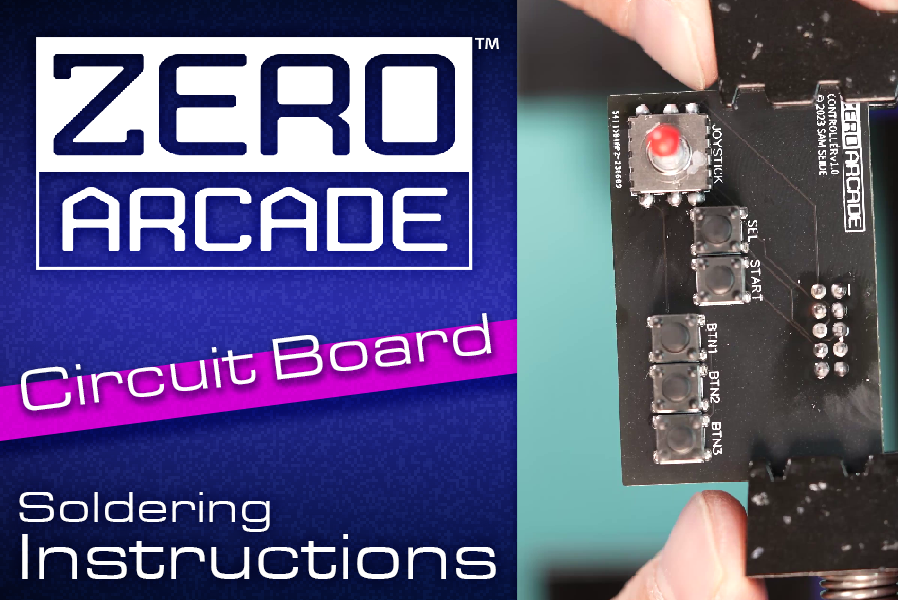
Circuit Boards: Soldering
Build instructions for the circuit boards for the Zero Arcade 6” Arcade Kit.

Cabinet Assembly: The Radical
Build instructions for the “The Radical” Zero Arcade 6” Arcade Kit.

Cabinet Assembly: The Retro
Build instructions for the “The Retro” Zero Arcade 6” Arcade Kit.

Cabinet Assembly: The Legend
Build instructions for the “The Legend” Zero Arcade 6” Arcade Kit.

Level 1: Software Setup
Now we’re ready for software! Here’s instructions for setting up the Micro SD card. Don’t know how to load games onto your system? Want to roll your own card? This will get you started!

Level 2: WIFI Setup
Setting up your wifi in Retropie makes it easy to add/remove games from your Zero Arcade. Here’s how to do it.

Level 3: LCD Setup
If you’re rolling your own Retropie install, you’ll want to start here with the software install of the LCD drivers.

Level 4: Audio Setup
After installing our LCD in the previous article, it’s time to get the sound to work on the Zero Arcade.

Level 5: Controller Setup
After setting up the LCD and sound to work on your Zero Arcade, last step is to configure the joystick and buttons.

Final Boss: Customize It
Customize your arcade by printing custom artwork at home to make them look just like the real thing!